How to Proof Yeast: A Quick and Easy Guide

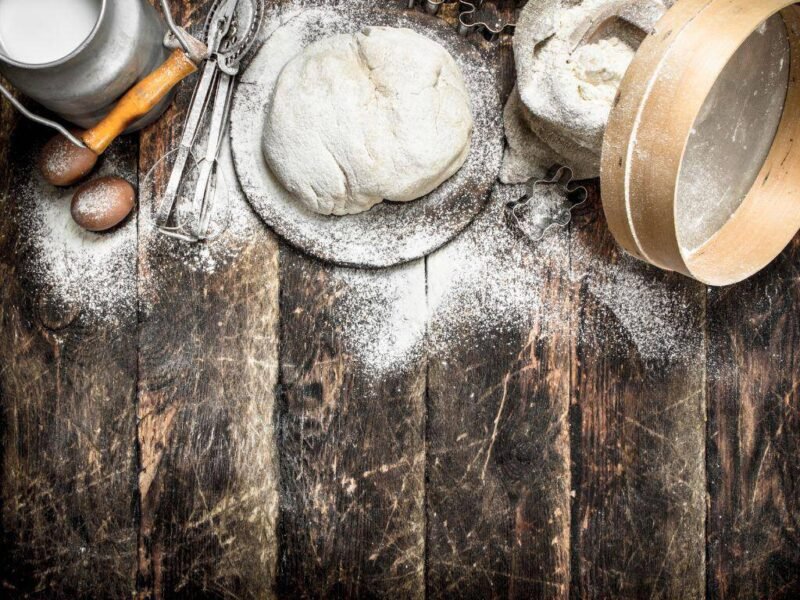
There’s something truly special about baking bread at home. Nothing compares to the warmth filling your kitchen and anticipating that first slice. But if you’ve ever made bread, you know that getting that perfect rise can be tricky.
Different types of bread do best with different yeasts. For artisan and no-knead breads, dry active yeast is the optimal choice. When using this type of yeast, the secret often lies in one simple step: proofing your yeast. Don’t worry, it’s easier than you might think! Let’s walk through how to proof yeast and ensure your loaf turns out light, airy, and delicious every time.
Proofing Yeast Before Making Bread
Most people know that yeast makes bread rise, but they might not know that there are different types of yeast: dry active yeast and instant yeast. We will be covering how to proof dry active yeast, which differs from instant yeast.
What does dry active yeast look like?
Dry active yeast comes in small, dry granules or flakes and is usually light tan or light gray in color.

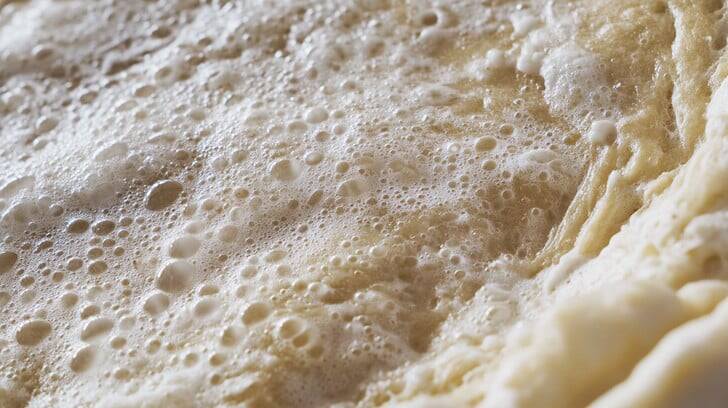
What does foamy yeast look like?
When you mix yeast granules with warm water and sugar, they should bubble and foam if they are alive. The foam and bubbles indicate that the yeast is active and ready to help your dough rise.
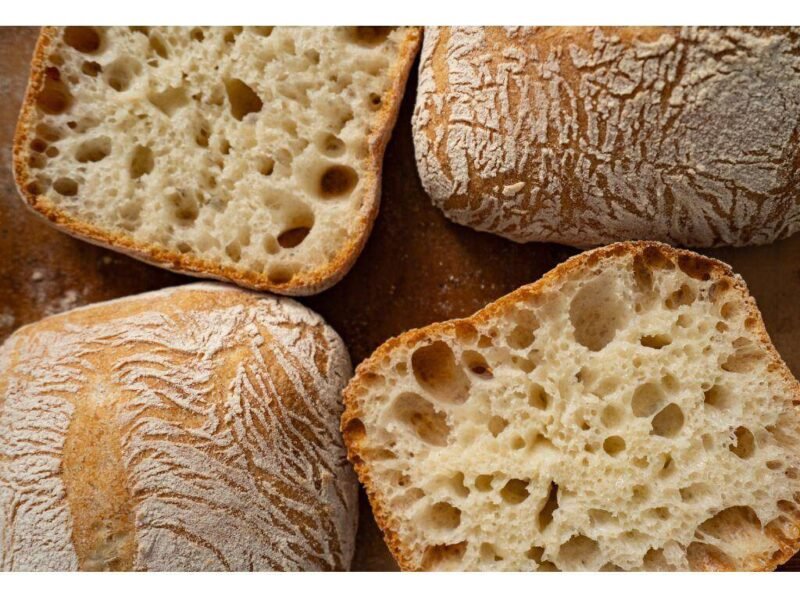
Why Proofing Is Crucial
Proofing is an important step when using dry active yeast to help your dough rise. If you skip this step, your bread may become dense and heavy instead of light and fluffy. Proofing checks that your yeast is active and ready to work, giving you the perfect rise every time. You can see the air pockets in the bread that was made by the yeast!
What You’ll Need to Proof Yeast
Before we begin, gather these ingredients:
- Active dry yeast (instant yeast doesn’t need proofing)
- Warm water (about 100°F to 110°F—like a warm bath)
- Sugar (optional, but helps activate the yeast faster)
- Small bowl and a spoon to stir everything together.
Different types of yeast breads work best with different yeasts. It is important to learn the differences between dry active yeast vs instant yeast to choose the right one for your baking projects!
You can find yeast at your local grocery store or on Amazon.
- Dry Active Yeast must be proofed or pre-activated.
- Instant Yeast activates without additional proofing nor pre-activation.
Simple Steps to Proof Yeast
| Step | Action |
| 1. Measure the Yeast | Place 2 ¼ teaspoons of active dry yeast (usually one packet) in a small bowl. |
| 2. Add Warm Water | Pour warm water into the bowl with the yeast. The water should feel warm but, not hot. Stir to dissolve. |
| 3. Add Sugar (Optional) | Add one teaspoon of sugar (optional) to help yeast activate faster, or skip it if preferred. |
| 4. Let It Sit and Bubble | Let the mixture sit for 5-10 minutes. Look for bubbling, foaming and frothing—this indicates the yeast is active. |
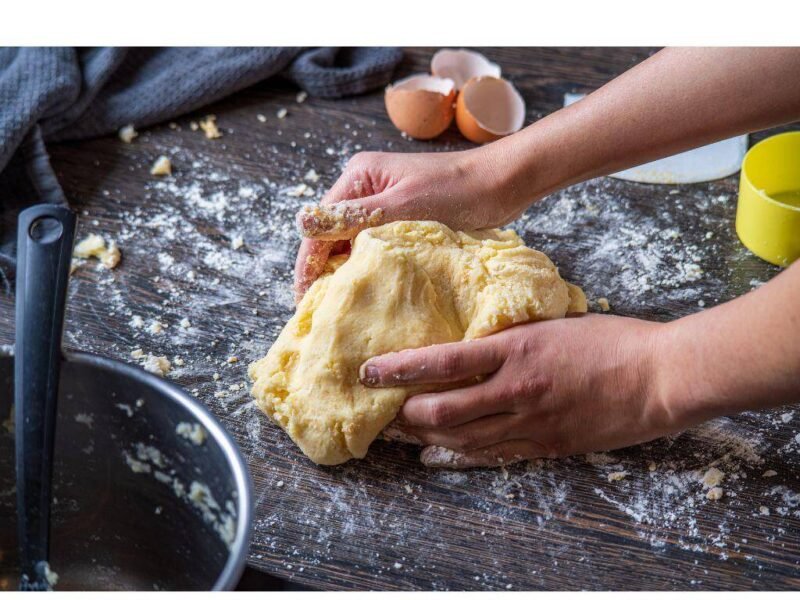
| 5. Incorporate Into Dough | Once bubbly, add the yeast to your dry ingredients and continue with your recipe. |
Tips for Perfect Proofing
Top tips for perfectly proofed yeast:
- Get the Water Temperature Right
The water needs to be just warm enough—100°F to 110°F. Too hot, and it will kill the yeast. Too cold, and the yeast won’t activate properly. Aim for that sweet spot, and you’ll have great results. - Patience Pays Off
Proofing doesn’t take long—5 to 10 minutes is all it needs—but don’t rush it. If you try to use yeast before it’s adequately proofed, your dough might not rise as you want it to. - Check the Expiry Date
Yeast is a living organism with a shelf life. Always check the expiration date on the packet. If the yeast is expired, it may not activate, and your bread won’t rise properly. Normal expiration is usually six months or so. I like to keep my dry active yeast in the refrigerator or freezer.
In Conclusion
Proofing yeast is a small, straightforward step that makes a big difference in your bread-making success. Once you’ve mastered it, you’ll be quickly baking airy, flavorful loaves. So, the next time you bake, take a moment to proof your yeast—and watch your bread rise to perfection!
Happy baking!
You may also enjoy:
- How to Bake French Bread | Super Easy Recipe
- Homemade Pizza Dough Recipe for Perfect Pizza!
- Easy Homemade Honey Butter Recipe: A Sweet Buttery Spread
- Creamy & Healthy Homemade Soft Butter Spread Recipe
Pin It…..


