The Secret to Perfect Hard-Boiled Eggs Every Time!

Hard boiling an egg may seem straightforward, but not many people can give you the best and exact instructions on how to do this. Below is the essential and practical guide to making hard-boiled eggs.
This post was really good for me to write as it helped me hone my hard-boiled egg technique instead of just winging it each time. I perfected my method for myself, which I thought would help you, too!
The Perfect Hard-Boiled Egg
I’ve included instructions for making perfect hard-boiled eggs from either a hot water start or a cold water start.
Here’s the tricky part: if you boil them for just one minute too long, they can turn rubbery and hard to peel, or the yolk may turn green.
So, learning to make hard-boiled eggs is more about science than art. You need the right temperature and careful timing.
This is especially important when boiling eggs at high altitudes. Please take your elevation into account when determining how long to boil your eggs.
Cooking is considered high altitude when it’s over 3,500 feet above sea level.


Behind Perfect Hard-boiled Eggs: Boiling point…
A gentle boil cooks the eggs evenly, which is key for perfect hard-boiled eggs. This helps the egg whites firm up while the yolks cook through, preventing a green ring from forming around the yolk.
Knowing the boiling point of water where you live is useful.
Yolks are best at around 180°F (82°C), while whites cook just below boiling.
Starting eggs in cold water instead of hot can help achieve a nice texture for the whites without overcooking the yolks.
By following these simple tips, you can make perfect hard-boiled eggs! The photo below shows yolks cooked for a shorter time. Adjusting the cooking time really matters.

Choosing Fresh, Quality Eggs
To make perfect hard-boiled eggs, start with high-quality eggs. But how can you tell if an egg is fresh?
One easy way is to check the yolk and white after cracking it open. Fresher eggs have a firm yolk and thick egg whites that stay together instead of being runny and spreading out.
For the best results for hard-boiled eggs, try using eggs that are at least a week or more old before boiling. Slightly older eggs are easier to peel. While fresh eggs are often preferred for cooking, week-old eggs are key for perfect hard-boiled eggs to help ensure easy peeling.
Don’t just rely on expiration dates; try the egg freshness water test if you are unsure of the age of your eggs. To do this test, place an egg in a bowl of water: if it sinks and lays flat, it’s fresh. If it floats or stands upright, it’s better not to use it.
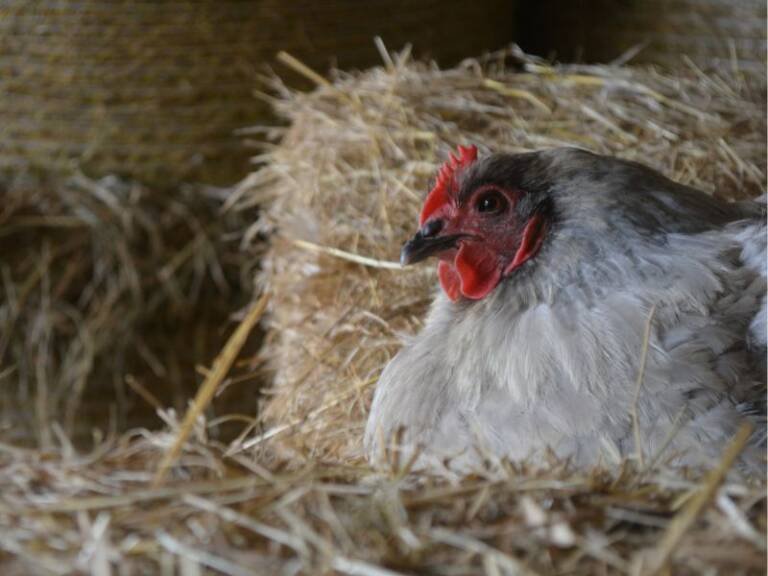
Quality is also important. Choose organic or free-range eggs when you can. They often have better flavors because hens eat a varied diet, and they come from more humane farms.

Ideal Cooking Time and Temperature for a Boiling Water Start
Cooking the perfect hard-boiled egg can be tricky because cooking times and temperatures vary. It requires precision, not guesswork.
The key is to boil your eggs for 9 to 12 minutes, depending on their size. Using a timer can help you achieve yolks that are firm yet creamy, avoiding the greenish tint from overcooking.
Temperature is just as important as timing. Start with a full, rolling boil before gently adding the eggs to ensure even cooking. After adding the eggs, lower the heat to maintain a gentle, low boil.
This prevents cracking and helps achieve the right texture. Balancing the initial boil with a gentle boil is essential for soft whites and smooth yolks.
Altitude also affects cooking. At higher elevations, water boils at lower temperatures, so you may need to cook the eggs a bit longer. Test your timing.
Try a few eggs in several different batches to find the best time for your location and altitude.
Step-by-Step Boiling Instructions for a Cold Water Start
Start by placing your eggs in a single layer at the bottom of a saucepan, making sure they aren’t crowded.
Pour cold water into the pot until it covers the eggs with at least an inch of water. This ensures even cooking and prevents the eggs from cracking due to sudden temperature changes.
Turn your stove to high heat and bring to a boil. Once the water comes to a boil, turn off the heat. Cover the pan but leave it on the burner.
The eggs need to sit in the hot water for 12 to 15 more minutes for a normal, firm, hard-boiled egg.
When the time is up, place the eggs in cold water until you can touch them to peel. The quick cooling helps keep the yolks bright yellow.
If you live above 3,000 feet, here is some further reading about cooking, food safety, and boiling points at high altitude.

Cooling & Peeling Techniques: Try Several to See What Works!
Timing is key when cooling hard-boiled eggs. Putting your cooked eggs in an ice bath stops the cooking and helps the egg whites pull away from the shell, making them easier to peel.
Some say that adding a pinch of salt to the water helps prevent small cracks in the shells from getting bigger as they cool.
And others say to add a tablespoon of vinegar or lemon juice to water before boiling to help for easier peeling. Try both of these suggestions and see what works best for you!
After chilling your eggs, it’s time to peel them, which can be frustrating.
Here’s a tip: gently roll each egg on a flat surface until you see tiny cracks. This makes peeling easier.
You can peel the eggs under running water or in a bowl of water, which helps remove stubborn bits of shell.
Bottom line: super fresh eggs are usually much harder to peel!
Common Mistakes to Avoid for Perfect Hard-boiled Eggs
One common mistake when hard-boiling eggs is overcooking them because people don’t watch the timer closely enough.
If you leave eggs on the heat too long, the yolks can become chalky and rubbery. Plus, the outside of the yolks takes on a greenish color. This green color does not make the egg yolk taste bad, but it is not very appetizing looking.
Make sure to calculate the proper time for the method used for your location and altitude! And, yes, you can make hard boiled eggs at 7000 feet!
We live just under 7,000 feet above sea level, so when I use the cold water start method, I leave the eggs to cook in the hot water for 15 minutes for perfection!
A common mistake is not cooling the eggs properly right after cooking. Many people leave eggs in hot water or at room temperature, which allows them to continue cooking.
With either the cold water start method or the hot water start method, to get perfect hard-boiled eggs, put them in an ice bath right after their respective cooking times.
The cold water stops the cooking process and makes peeling easier by creating space between the egg and shell. These small changes can greatly improve your hard-boiled eggs.
Storing Your Hard-Boiled Eggs Safely
Storing hard-boiled eggs properly is important for keeping them fresh and safe. After boiling, cool the eggs completely in an ice bath or under cold running water. This stops the cooking process and makes peeling easier later.
For the best storage, keep the eggs in their shells until you are ready to eat them. The shell protects against bacteria and keeps moisture in. If you want to peel the eggs first, only keep them for a day or two in a tightly covered jar or dish.
Remember, hard-boiled eggs taste best within a week. Mark the day you boiled them to track freshness.
By following these tips, you can enjoy delicious and safe hard-boiled eggs all week!
Creative Serving Suggestions
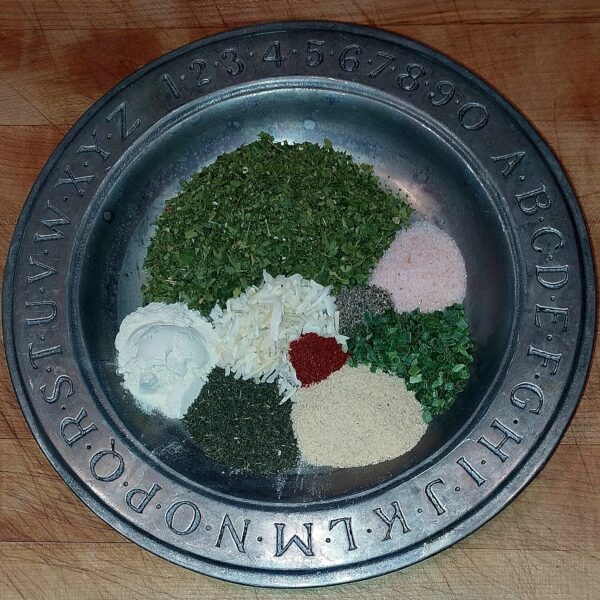
Once you master boiling eggs, it’s time to make them look great on your plate! One fun idea is to make a colorful egg salad. Instead of using mayo, mix diced avocado, Greek yogurt, and fresh herbs like dill and chives for a creamy and healthy spread. Serve it on whole grain toast or in lettuce wraps for a fancy brunch that tastes as good as it looks.
For a standout appetizer, try a new take on deviled eggs. Add unique flavors to the yolk mixture, like smoked salmon and cream cheese for a rich option. Top them with lemon pepper, dill, or edible flowers.
Remember, how you present the food matters—arranging these beautiful bites on nice platters can turn simple snacks into gourmet treats that everyone will love!
How to Make Perfect Hard Boiled Eggs

Materials
- 6 eggs
Tools
- Medium Size Pot
- Water
- Utensils
Instructions
Step-by-Step Boiling Instructions for a Cold Water Start
1. Start by placing your eggs in a single layer at the bottom of a saucepan, making sure they aren’t crowded.
2. Add cold water until it covers the eggs with an inch or more of water over them. This helps them cook evenly and prevents cracking from sudden temperature changes.
3. Turn your stove to high heat and bring to a boil. This is when bubbles form on the surface. When you see bubbles, turn off the heat. Cover the pan but leave it on the burner.
4. The eggs need to sit in the hot water for 12 to 15 more minutes for a normal firm hard boiled egg.
5. When the time is up, place the eggs in cold water until you can touch them to peel. The quick cooling helps keep the yolks bright yellow.
6. By following these steps carefully, you can turn simple boiled eggs into delicious treats for any meal or snack!
Notes
- After chilling your eggs, it’s time to peel them, which can be frustrating.
- Here’s a tip: gently roll each egg on a flat surface until you see tiny cracks. This makes peeling easier.
- You can peel the eggs under running water or in a bowl of water, which helps remove stubborn bits of shell.
- Bottom-line: super fresh eggs are usually much harder to peel!
Conclusion: Achieve Perfection with Every Boil
To master hard-boiled eggs, focus on both timing and technique.
However, you can achieve perfectly cooked eggs by being mindful and trying different methods, such as the hot water method or the cold water start method.
Remember, each egg may need different care depending on its size and freshness.
Cooling your eggs properly is also important. An ice bath is essential; it makes peeling easier and stops the cooking process at the right time.
Soon, perfect hard-boiled eggs will be a regular part of your kitchen routine! Try them in salads, sandwiches, or just as a quick snack. Happy cooking!