Making Butter at Home | Step-by-Step Guide

If you have ever wondered how to make pure, fresh, homemade butter? You’ve come to the right place for an easy step-by-step DIY butter making guide for making butter at home!
We’ll guide you through three easy methods for making homemade butter. Whether you’re looking to create a healthier alternative to store-bought butter or just want to try your hand at a fun kitchen experiment, we’ve got you covered.

HISTORY OF MAKING BUTTER AT HOME
The process of making butter has a long history that goes back to ancient times. It was originally made from the milk of cows, sheep, and goats. Early butter was likely more sour and less creamy than the butter we know today.
Butter first appeared in writing in the 11th century when an Irish monk described how to make it. By the 12th century, Ireland began exporting butter to other parts of Europe. In the 13th century, butter became a common ingredient in English cooking.
Making butter at home used to be a regular task, but now it is rare. It’s not hard to make butter at home, but it does take some patience and time. Buttermilk, which is left over after making butter, can be used in baking or as a drink.

How to Make Butter from Scratch
To get started making this recipe, you’ll first want to gather all your ingredients first.
Prep Time: 5 minutes Cook Time: 15 minutes Total Time: 20 minutes
Ingredients & Tools for this Easy Homemade Butter Recipe
Note on the temperature of the cream: really cold cream will take much longer to churn than cream at 60 degrees and if your cream is warm, it will not form the butter properly. Try to have your cream at 60 degrees.

#1 CHOOSE YOUR METHOD
There are a few different methods you can use to make homemade butter. You can use an electric beater or food processor, a mason jar, or an old-fashioned paddle churn like the Daisy Butter Churn.
Steps for making butter at home
eLECTRIC BEATER OR FOOD PROCESSOR
Start by pouring a pint of whipping cream or heavy cream into a bowl or glass jar, whichever works best for you.
- If you have opted for an electric mixer or food processor, turn it on at low speed and gradually increasing it to medium.
- After 5 to 10 minutes, you will first notice that the cream is beginning to look like whipped cream.
- As you continue churning, you will see the little butter specks begin to cling to the beaters or blades.
- Continue mixing until the butter and buttermilk have separated.
Mason Jar Method
On the other hand, if can simply use a mason jar to make homemade butter.
- To begin: pour the cream into the jar and shake, shake, and keep shaking some more.
- While doing so, you will see the cream thickening and then turning into whipped cream.
- Continue shaking the jar until the cream breaks, and you are able to see the separated butter fat from the liquid.
Hand Churning cream into butter
And, the third option is to use an old-fashioned paddle churn like the Daisy Butter Churn! Or, you might like to try a smaller-style butter churn.
#2: BUTTER STARTS FORMING
No matter which method you are using to churn, you will need to follow the same steps to rinse, wash, salt and store the butter ball.
First, set a muslin cloth over a strainer or colander and pour the butter and buttermilk mixture into it. Allow the buttermilk to drain off, or catch it by placing the strainer in a kettle or large mixing bowl.
Store the buttermilk in the fridge and use it later for baking, or give it to your chickens if you have them.
Just as a side note: real, fresh buttermilk is thin and almost transparent! It is nothing like the commercially cultured buttermilk that you see in the grocery stores today.
#3: RINSING THE FRESH BUTTER
The best way to ensure all buttermilk has been removed is to squeeze the muslin into a bowl of ice-cold water. Gather the butter ball in the muslin and squeeze to make sure that all the extra buttermilk has been squeezed out into the bowl of ice water.
The buttermilk will cause the ice water to turn milky looking, so keep changing out the milky water.
Continue squeezing the muslin covered butter ball into the fresh ice water three to four times, or until the water stays clear.
(The reason you use cold water instead of warm is that you do not want your butter to melt away!)
You can also add a pinch or two of Himalayan Pink Salt after removing all the buttermilk. Sprinkle the pink salt on the butter ball and knead it in.
Adding salt to your freshly made butter makes a difference when baking and with its shelf life. Find the difference here between Salted vs. Unsalted Homemade Butter!
Note: Leaving any buttermilk in the butter will cause the butter to go bad and spoil so much faster. It is very important to remove as much buttermilk as possible.

#4: SHAPING & STORING BUTTER
Now, what to do with your freshly made butter at home. For storing and preserving homemade butters:
- First, spread a sheet of parchment paper and use a spatula to place the homemade butter on it.
- Now roll the butter into a nice round ball or small log shape and refrigerate.
- Once chilled, wrap your freshly made butter in plastic wrap or place in a glass container with a lid or pack into a butter bell which keeps butter safe yet spreadable!
- It is important to keep your butter sealed while in the refrigerator or even the freezer as it can pick up other odors especially garlic and onions!
There you have it—your old-fashioned homemade butter is ready!
Hint: Spread your fresh butter on your homemade French bread, a baked potato, corn cob, or anything else that goes well with butter ♥
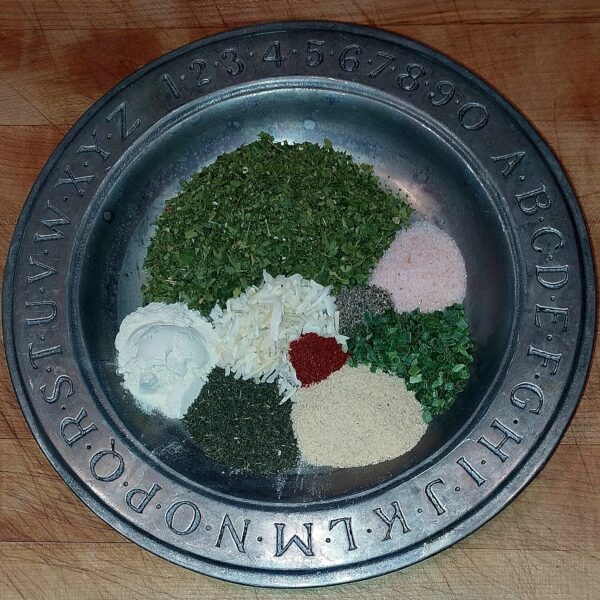
FLAVORED HOMEMADE BUTTERS:
Consider adding various ingredients, such as honey, pumpkin spice, honey, parsley, or Italian herbs for special breads or vegetable dishes.
Here are some great recipes for honey butter, maple syrup butter & herbed butter.
Once you have found your favorite flavoring, mix it up with the homemade butter, place it in a bowl or jar, and refrigerate it. Set the butter out prior to using to soften it a bit for easy spreading.
Another way to soften butter is to try this homemade creamy butter spread that has all the goodness of real butter with the addition of avocado oil to make it more spreadable!
FREQUENTLY ASKED QUESTIONS:
Can You Make Butter from Milk?
Technically, you can make butter from milk, but it is a more complicated process. You would need to separate the cream from the milk and then proceed with the steps for making butter from cream or heavy cream.
How to Make Salted Butter
To make salted butter, simply add salt to taste to the butter after it has been separated from the buttermilk and rinsed under cold water. Start with a small amount of salt and add more as needed.
How Long Will Homemade Butter Last?
Homemade butter can last up to two weeks in the refrigerator if stored in an airtight container. You can also freeze homemade butter for up to six months.
ow to do I make an organic homemade spreadable butter?
If you want a soft spreadable butter that is also healthy, take a look at this easy recipe. Using your own homemade butter adds a unique freshness and quality to this soft healthy butter spread.
MY TOP TAKEAWAYS:
Here are some top tips for successful homemade butter making to keep in mind:
- Making butter at home requires just one ingredient: cream. You can use heavy cream, whipping cream, or even sour cream.
- You can make butter using a stand mixer, a food processor, or even a jar with a tight-fitting lid.
- Once you’ve churned the cream into butter, you’ll need to separate out the buttermilk. You can do this by pouring off as much of the liquid as possible, then squeezing and kneading the butter to release any remaining liquid.
- If you want salted butter, you can stir in salt to taste after washing and drying the butter. Start with a small amount, like a scant 1/8 teaspoon, and adjust as needed.
- Homemade butter can be stored in the refrigerator for up to two weeks, or in the freezer for up to six months. Just be sure to wrap it tightly to prevent freezer burn.
Making butter at home can be a fun and rewarding project. Whether you’re looking to impress your dinner guests or just want to try something new, making your own butter is a great way to get creative in the kitchen.

Wrapping It Up on How to Make Butter at Home
Butter enhances the taste of simple dishes like topping vegetables, spread on warm biscuits and fresh French bread, baked potatoes, pancakes, and spreading on toast.
So, what are you waiting for? This guide to make your own delicious and creamy butter at home is sure to be a favorite!
You May Also Enjoy:
- Easy Homemade Honey Butter
- Waffles, Pancakes, Bacon & Sausage Roundup!
- BAKE FRENCH BREAD | Super Easy Recipe
- No Yeast Einkorn Bread Recipe ~ Ready in One Hour!
- Homemade Einkorn Waffles with a Sourdough Flair
- Easy Egg in a Hole Recipe ~ Simple & Delicious