How to Grow Potatoes in Your Home Garden
Potatoes are easy to grow and easy to store; plus, they are a super versatile food. Find out more on how to grow the best potatoes ever.
Potatoes are a long-standing staple food for many cultures.
This versatile root crop grows in a wide variety of locations. Potatoes are easy to grow and can be stored long-term in a root cellar or cool, dark environment.
They make wonderful potato salads, plus they are super versatile and can be baked or fried, plus they work well in au gratin or scalloped potato side dishes.
How to Grow Potatoes
Potatoes are not only delicious but also provide necessary vitamins and minerals.
Benefits of Potatoes: Packed With Nutrients!
WE WILL COVER:
- Soils
- Sunlight
- Temperature
- Chitting Seed Potatoes
- Planting instructions
- Cold Hardiness
- Days to Germinate
- Thinning
- Varieties
- Days to Maturity
- Harvesting
- How to Store Potatoes
- Plus, a few Potato Recipes!
- Container Gardening
- Printable Growing Handout

Find Your Zone:
FREE USDA Hardiness Zone Planting Guide
1. Soils
- Potatoes need well-drained soil with a pH between 6.0 and 7.5 (adjust to a higher pH with wood ash or garden limestone).
- Moist soils but not waterlogged
- Gardens, garden beds, containers, or pots all work well.
- Just make sure to have deep soil in your containers.
- Apply organic all-purpose fertilizer.
- Fish Emulsion
Depending on your geographic location, soils vary tremendously and need different soil amendments. Make sure to enrich your garden soil each year!
And start your own compost pile!
It is easy to find out how to test your soil with this inexpensive soil tester from Amazon.
2. Sunlight
Potatoes love full sun but they can tolerate a little bit of shade; 6 Hours of full sun should be enough for a healthy crop.
3. Temperature
Potatoes prefer warmer temperatures but will withstand a very light frost.
4. Chitting Potatoes
Chitting is a method of forcing the eyes on the potatoes to begin growing before planting. This can give your spuds a jump start.
To chit, simply place your seed potatoes in a box or egg cartons and set them in a warm, dark location.
In about a week, they start to sprout. Once they have sprouted, move the seed potatoes to a cool location where they can get some sun but will not freeze.
The sprouts will begin to turn green. This is what you want!
5. Planting
Plant your potatoes approximately 2 to 3 weeks before the last scheduled frosts for your area.
Specifics on Planting Potatoes:
Before planting, cut your seed potatoes so each piece has at least 1 eye. I recommend leaving 2 eyes to make sure one will sprout.
Cut the pieces to about 2 inches in diameter for strong plants.
The eyes on the potatoes grow into new plants. The plant grows up from the eyes, and the roots grow down.
Each eye on a potato can create a whole new potato plant. It’s amazing!
- Space your rows about 36 inches apart.
- When planting in rows, place 2 seed potato pieces about 12 to 15 inches apart.
- Space your hills about 24 inches apart to give enough dirt for each plant.
- Plant 3 to 4 potato pieces together in hills, depending on how many eyes each piece has. If a piece has more eyes, use fewer pieces.
- Make sure all potato pieces are at least 3 inches deep.
- Cover them with 3 to 4 inches of dirt and press down firmly.
- Weed by hand and add some mulch to help prevent weeds.
- As potato sprouts grow, carefully mound dirt over them.
- Keep adding dirt to create a hill over the potatoes.

Make sure to keep developing potatoes covered with dirt, as the direct sun and light will cause them to turn green and bitter.
Also, keep the soil moist but not soggy. Mulch really helps suppress weeds as well as retain soil moisture.
French watering cans are especially useful when watering the potato plants in pots and containers.
♦Please Note: Add this information to your Gardening Journal.
6. Cold Hardiness
Potato plants are not cold hardy. The leaves can handle cool temperatures, but they are sensitive to frost.
If the leaves do freeze as the potatoes are sprouting, they will turn brown and die back. But new growth will soon appear as the days warm.
7. Days to Produce Sprouts
Potatoes will typically start showing sprouts above the ground in approximately 18 to 21 days, depending on the temperature.
8. Thinning Potato Plants
Potato plants will not need to be thinned if you plan on proper spacing when setting them out.

9. Varieties of Potatoes
There are many types and colors of Seed Potatoes available. You can try one or several, but be sure to plant them in different rows or hills.
10. Days to Maturity
Dates vary, but young new potatoes will mature in approximately 7 to 9 weeks.
Potatoes mature at different rates based on the variety. Other factors include weather, elevation, soil quality, and moisture. However, you can usually start harvesting “new” potatoes in about 50 to 60 days.

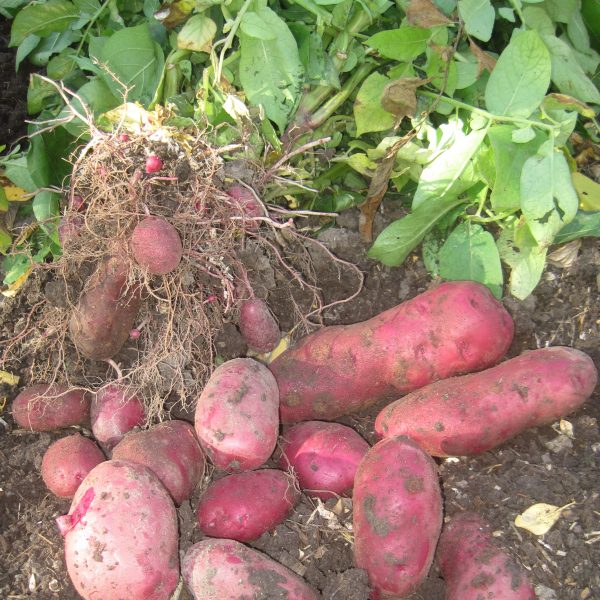
11. How to Harvest
- Wait until the potato plants have yellowed and died back.
- Use a garden fork or spade to loosen the soil around the plants.
- Carefully lift the potatoes from the ground, avoiding damage.
- Gather all harvested potatoes and remove excess soil.
- Store potatoes in a cool, dark, and dry place.
- Check for any bruised or damaged potatoes and use them first.
- Harvesting should ideally be done on a dry day to prevent spoilage.
Do not leave the potatoes in the direct sun as they will begin to turn green and bitter.
12. How to Store Potatoes
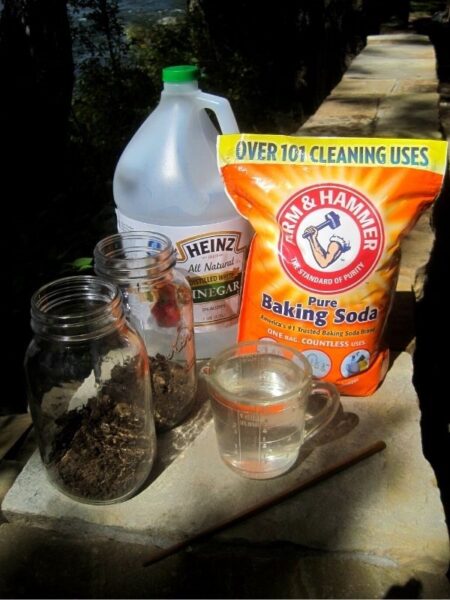
The debate is whether to wash your potatoes prior to storing them.
If your potatoes are super muddy and covered in heavy mud, it is advised to spray them off prior to storing.
Make sure to air-dry them thoroughly before storing.
- Best when stored in Cool, Dark Room
- Store in burlap bags, bins or boxes
- Store in Root Cellar
Ball Canning and Freezing Resource Book
13. Recipes for Potatoes that You May Like
- Yukon Gold Potato Salad
- Roasted Potatoes & Carrots with Sausage
- Twice Baked Potatoes
- Scalloped Potatoes
14. Growing Potatoes in Containers

Potatoes can be grown in tall pots or grow bags.
- Fill the bottom of the growing bag with 8″ of potting soil or garden dirt. Place your seed potato pieces evenly on top of the dirt. Cover with 4″ to 6″ of dirt. Water and wait for sprouts to appear.
- When you see the potato sprouts, cover them with 4″ more inches of soil.
- Continue covering the sprouts until the growing bag is filled.
- The potato plants will leaf out and grow while forming new potatoes underground in the growing bag.
- You may dig out a few new potatoes when the potato plants begin to flower.
- Enjoy fresh new potatoes: rinse off any dirt and gently boil until tender. Serve with a little creamy homemade butter spread and salt. Enjoy!
15. Free Printable Guide
HOW to GROW POTATOES | How to Grow Series

Planting Instructions for Potatoes
Materials
- Seed Potatoes - Cut into small pieces with at least one eye on each piece
- Fertile Garden Soil
- Or: Garden Pots or Containers
- Garden Soil or Growing Medium
Tools
- Gloves
- Shovel
- Rack and Hoe
- Watering Can or Sprinkler
Instructions
Plant your potatoes approximately 2 to 3 weeks before the last scheduled frosts for your area.
Specifics on Planting Potatoes:
Before planting you will need to cut your cut your seed potatoes so each piece has at least 1 eye. I like to leave at least 2 eyes to insure one will sprout. These cut pieces should be about 2" in diameter to give the plants a good start.
The eyes of the potatoes grow into the new plants. The potato plant grows up out of the eyes and the roots will grow down. An entire potato plant will develop from the each eye on a potato......simply amazing!!!
- Plant the seed potato pieces in rows 3 feet apart
- Seed Potatoes pieces need to be 3 inches deep
- Cover with 3" to 4" of dirt and tap firm
- Seed potato pieces should be planted 12" to 15" apart in rows
- Rows should be 36" apart
- Hand Weed or Mulch to suppress weeds
- Hill dirt over potato sprouts as they appear above soil surface
- Continue mounding dirt to make a hill over potatoes


I just found your blog and am so excited! THANK YOU for having a printer friendly version – it is so helpful!
I am so glad that you are finding some helpful information……..Thanks for your note!