Learn to Grow Sprouts at Home | Simple Quick Guide

Sprouts are very nutritious and a healthy addition to your diet. When you grow them at home, you can easily add them to salads, sandwiches, or stir-fry dishes for a healthy meal.
You can grow many different types of seeds as “sprouts in a jar!”
How to Grow Sprouts at Home
Sprouts are seeds, nuts, legumes, or grains that have been soaked and allowed to grow. They are full of helpful enzymes, proteins, minerals, vitamins, and antioxidants.
Sprouts are nutritious and simple to grow indoors.


You May Also Enjoy:
- How to Grow an Indoor Herb Garden that You will Love ♥
- GROWING HERBS for BEGINNERS in YOUR HOME GARDEN
- GREENHOUSE GARDENING: Easy Tips for Beginners
- Strawberry & Kale Salad Recipe | Healthy and Delicious
- 5 Delicious & Healthy Salad Recipes You Should Give a Try
What is Sprouting?
Sprouting is the process of soaking seeds, grains, nuts, or beans to make them germinate. This creates tiny plants that provide many health benefits.
These small plants can grow without soil because seeds have enough energy to produce 2 or 3 small leaves before needing sunlight and soil to grow fully.
Germination improves the nutrients in the seed, like fiber and vitamins C and B. It also reduces phytic acid and lectins, making seeds easier for the body to digest and absorb.
The fat content decreases too, making them healthier. Common seeds for sprouting include chickpeas, broccoli, red clover, soybeans, fenugreek, lentils, mung beans, pumpkin seeds, wheat, radish, alfalfa, chia, quinoa, and sunflower seeds.
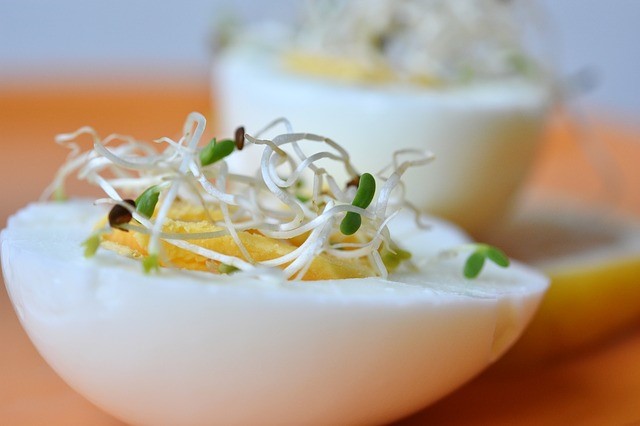
The tiny leaves, stems, and roots from the seeds can be tasty additions to salads, sandwiches, stir-fries, dips, and more.
Growing sprouts at home ensures you have fresh ingredients for clean eating!

Growing sprouts indoors is easy because it doesn’t require much space or special tools. You can simply grow them on your countertop and rinse them a couple of times each day with water.
Here’s a simple guide to sprouting in your kitchen. Learning to grow sprouts at home helps you create tasty and healthy food. Let’s get started.
What You Need
To grow sprouts indoors, you need three main things: a container, water, and seeds.
Container
You can find many sprouting tools at home gardening stores and online. Options range from simple containers with built-in sieves to multi-tiered trays for sprouting different seeds at the same time.
You don’t need an expensive setup, though. A simple way to sprout seeds is to use a wide-mouthed mason jar. Cover the opening with cheesecloth, muslin cloth, or a mesh strainer held in place by a rubber band, along with the jar’s lid.
You can also use a small strainer inside the jar to keep the seeds from falling out when rinsing.


Water
Plain, non-chlorinated water works best for sprouting. Make sure to rinse your growing sprouts often to keep them slightly damp and clean.
Sprouting Seeds
Organic sprouting seeds can be bought from any store. Make sure they are labeled for use as sprouting seeds.
Seeds specifically marketed for sprouting are untreated and free of any chemicals or fungicides. The best seeds grow the best sprouts!
Amount of Seeds per Quart Size Mason Jar
- 2 Tablespoons of smaller seeds like alfalfa, clovers, radish, and broccoli
- 1/4 cup of larger seeds like mung bean, peas, and garbanzo beans
Try Broccoli and Friends Sprouting Mix
Method
- Add the proper measurement of seeds to a quart-size mason jar with your choice of seed, bean, grain, or legume.
- Fill the rest of the jar with warm water and stir.
- Now cover the jar with a breathable fabric, such as cheesecloth, and secure it with a rubber band. Leave the seeds soaked in water for 8 to 12 hours (you can soak them overnight).
- The next morning, strain the water through the cloth. Rinse the seeds and drain the water again. Repeat this step a few times.
- Leave the strained sprouts in the jar and place the jar at a slight angle so that any excess water can drain off and air circulates easily. You can keep it in a large bowl and slightly tilt it or on a dish rack.
- Keep rinsing and draining the seeds every morning and evening. It will keep them moist. You will have to keep doing this for 2 to 6 days until all the seeds have sprouted and they are about 2 inches in length.
- On the final day when the sprouts are approximately 2 inches long, place the jar in the sunlight. The leaves will make chlorophyll and turn green! Read about the benefits of chlorophyll.
- Now you can give them a final rinse and spread them on a clean paper towel to soak excess water. They are now ready to eat. You can also store them in the refrigerator. Most sprouts can stay fresh for about a week if kept cool.
- Make sure some air can get to the sprouts. Do not tighten the lid; just leave it loosely on the jar.
How to Grow Sprouts

Learn how to grow sprouts for nutritious and fresh food!
Materials
- There are three main things you need to start growing sprouts indoor: a container, water, and the seeds.
- Fine Mesh Strainer or Cheese Cloth and a Rubber Band
Tools
- Quart Size Mason Jar
Instructions
Method
- Add the proper measurement of seeds to a quart size mason jar with your choice of seed, bean, grain or legume.
- >2 Tablespoons of smaller seeds like alfalfa, clovers, radish, and broccoli -or-
>1/4 cup to 1/2 cup of larger seeds like mung bean, peas, and garbanzo beans - Fill the rest of the jar with warm water and stir.
- Now cover the jar with a breathable fabric, such as cheesecloth and secure it with a rubber band. Leave the seeds soaked in water for 8 to 12 hours (you can soak them overnight).
- Next morning, strain the water through the cloth. Rinse the seeds and drain the water again. Repeat this step a few times.
- Leave the strained sprouts in the jar and place the jar at a slight angle so that any excess water can drain off and air circulates easily. You can keep it in a large bowl and slightly tilt it or on a dish rack.
- Keep rinsing and draining the seeds every morning and evening. It will keep them moist. You will have to keep doing this for 2 to 6 days until all the seeds have sprouted and they are about 2 inches in length.
- On the final day when the sprouts are approximately 2 inches long, place the jar in the sunlight. The leaves will make chlorophyll and turn green! Read about the benefits of chlorophyll.
- Do not rinse on after sunning but spread them on a clean towel to soak excess water. They are now ready to eat. You can also store them in the refrigerator. Most sprouts can stay fresh for about a week, if kept cool in the fridge. Do not keep them in a tightly sealed container. Make sure they can breath a little.
Notes
Make sure some air can get to the sprouts. Do not tighten the lid just leave it loosely on the jar.
That’s the Wrap on Sprouting
Growing sprouts indoors is a simple way to give a healthy boost to your daily diet without adding to your grocery bill. It’s also a great way to enjoy the taste of nutritious, homegrown food.


